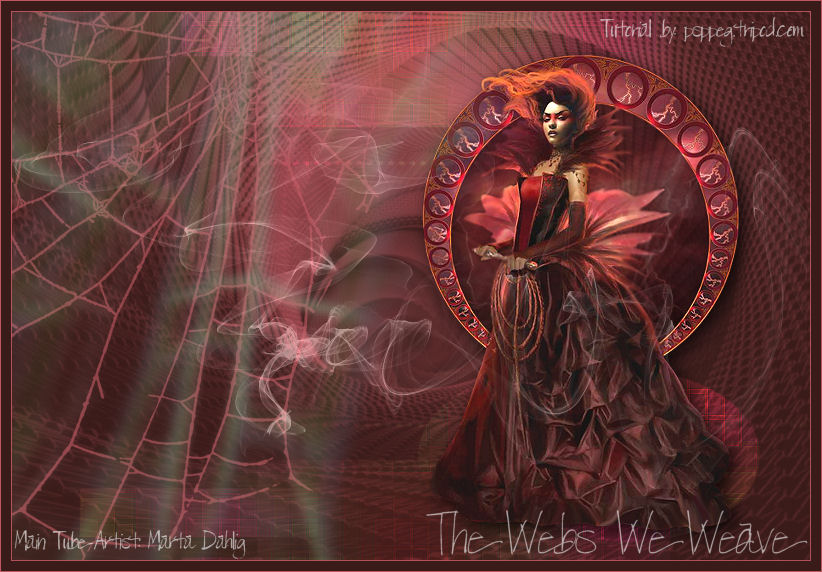
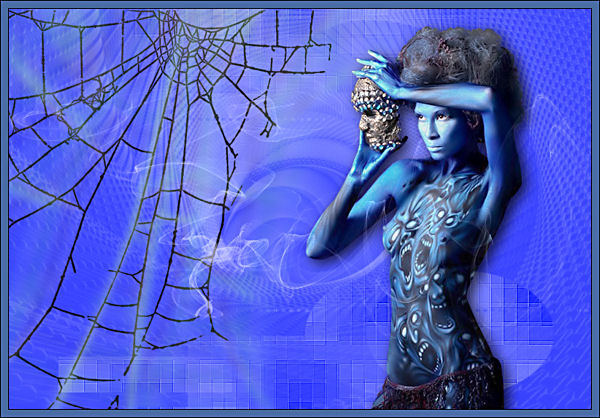
The Webs we Weave
This tutorial can be created in a variety of ways
Filters Required:
Simple
Eye Candy 5 Impact
Filter Factory E
If you need a filter..select the linked image below and scroll down the page.

------------------------
Tubes Required:
Main Tube Female
elements
Selections and Masks
------------------------
Materials
------------------------
|
Preparation:
Look thru the list of filters and make certain you have them.
Add the Selections to your Selection Folder.
Double Click the Eye Candy Preset. This places it into your program.
Open all tubes and masks in your psp program and minimize.
Material Palette - Set foreground to #be5760, or a medium color from your tube. Set background to #391b19, or a dark color from your tube.
Lets Begin:
A)Background
1)File, New Image, 800wx550h, transparent.
2)Flood Fill with Background Color
B)First Mask Layer
1)Layers - New Raster Layer
2)Flood Fill with Foreground Color
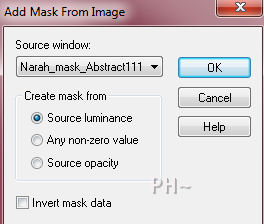
3)Layers - New Mask Layer - From Image - Find - Narah_mask_Abstract111, source Luminance checked, Invert mask data unchecked.
4)Layers - Merge - Merge Group
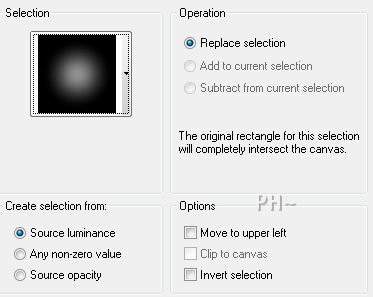
5)Selections - Load/Save Selection - Load Selection from Disk - Load psppeg_www1.sel
6)Hit your delete key on your keyboard 3 times.
7)Selections - Select None.
C)Second Mask Layer
1)Layers - New Raster Layer
2)Flood Fill Foreground Color
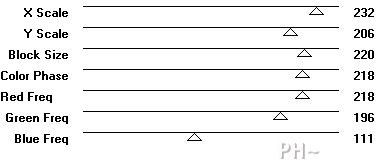
3)Effects - Plugins - Filter Factory E - Gradient Blocks
4)Effects - Plugins - Simple - 4way Average
5)Effects - Edge Effects - Enhance More
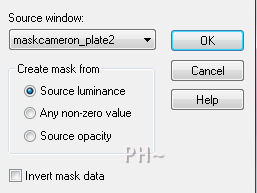
6)Layers - New Mask Layer - From Image - maskcameron_plate2 , source Luminance checked, Invert mask data unchecked.
7)Layers - Merge - Merge Group
8)Effects - Plugins - Simple - Top Bottom Wrap
9)Image - Flip
10)Selections - Load/Save Selection - Load Selection from Disk - Load psppeg_www2.sel
11)Hit your Delete Key on your Keyboard
12)Selections - Select None
14)Layer Palette - Blend Mode: Dodge, Opacity: 65.
D)Main Tube
1)Maximize MartaDahlig_Wrath_Moo.psp
2)Layer Palette - Select Top Layer
3)Layers - Merge - Merge Down
3)Edit - Copy - Close image - Edit - Paste As a New Layer.
4)Image - Resize - 85%, all layers unchecked.
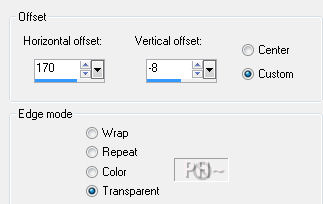
5)Effects - Image Effects - Offset - 170, minus 8, transparent.
6)Effects - 3D Effects - Drop Shadow - 5,6,80,26, black.
E) Creating An Element
1)Maximize brush_psppegwww - Brush Tool - Create Brush Tip from Selection
2)Select the Brush you just created.
3)Layers - New Raster Layer
4)Left Click mouse to the left of image
5)Effects - Plugins - Eye Candy 5 Impact - Backlight - Settings Tab: Preset psppeg_Backl1
6)Layer Palette - Opacity: 75.
F)Adding an Element Layer
1)Maximize element1_psppegwww.psp - Edit - Copy - Close Image - Edit - Paste - As a New Layer
G)Framing
1)Layers - Merge - Merge All
2)Layers - New Raster Layer
3)Flood Fill with Foreground Color
4)Selections - Select All
5)Selections - Modify - Contract - 1 pixel - Hit your Delete Key on your Keyboard
6)Selections - Select None.
7)Layer Palette - Opacity: 90.
8)Layers - Merge - Merge All
9)Image - Add Borders - 10 pixel Symmetric Border in your Background color.
10)Image - Add Borders - 1 pixel Symmetric Border in your Foreground color.
H)Finalizing
1)Add your watermark
2)Add text
3)Layers - Merge - Merge All Flatten.
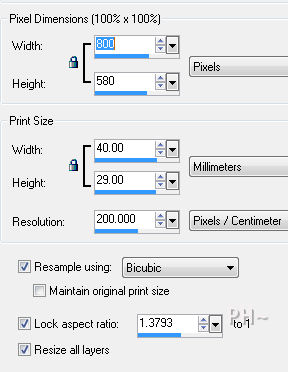
4)Image - Resize 800 pixels.
Your done.
Another Example
Home
©PSPPEG 2011
All Rights Reserved