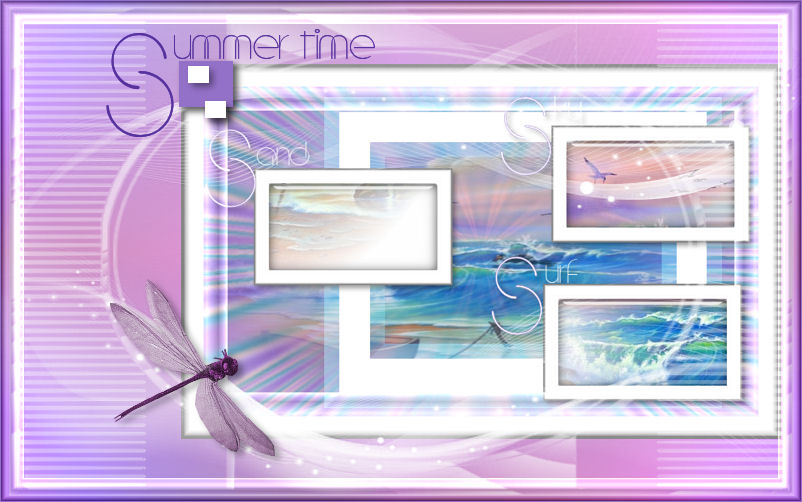
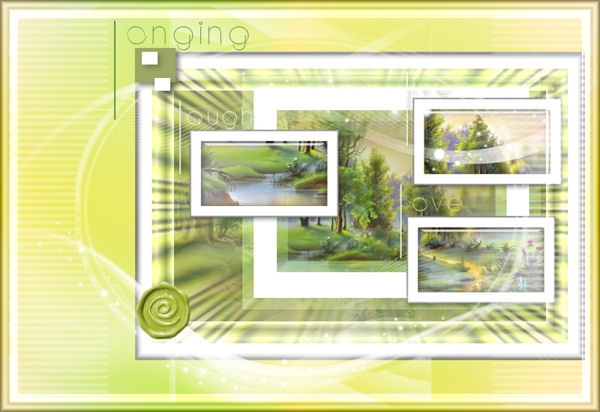
Summer Time
This tutorial can be created with any mist.
Filters Required:
Filters Unlimited 2.0
&Sandflower Specials (Place in Filters Unlimited)
Simple
& Bkg Kaleidoscope (Place in Filters Unlimited
Eye Candy Impact - Glass
Filter Lists
------------------------
Tubes Required:
Main Mist by PSPPEG
Masks by Narah and unknown
Many thanks for the masks.
------------------------
Materials
------------------------
|
Preparation:
Look thru the list of filters and make certain you have them.
Open mist and masks in your psp program and minimize.
Place Selection File in your PSP Selection Folder
Double Click Glass Preset
--------------------------
Material Palette
Material Palette - Set foreground to #9371c8 and background to #ffffff or select two colors to work with.
Lets Begin:
A)Background
1)File, New Image, 800 w x 550 h, white.
2)Selections - Select All
3)Selections - Modify - Contract -30 pixels
4)Flood Fill with Foreground colour (Keep Selected until told not to)
5)Maximize your mist mist_psppeg_st.psp - Edit - Copy - Minimize - Edit - Paste - Into Selection
6)Effects - Plugins - Filters Unlimited 2.0 - &BKG Kaleidoscope - Cake Mix - Ghosting 170, 198
7)Adjust - Blur - Gaussian Blur - 30 radius
8)Effects - Plugins - Filters Unlimited 2.0 - &BKG Kaleidoscope - Kaleidoscope 1 - Divisions: 37, Variation: 60
9)Layers - New Raster Layer
10)Edit - Paste - Into Selection
11)Layer Palette - Opacity: 75
12)Layers - Merge Visable
13)Selections - Select None
B)Background Elements
1)Layers - New Raster Layer
2)Selections - Load/Save Selections - Load psppeg_summer1.sel
3)Flood Fill with White
4)Selections - Select None
5)Layers - Duplicate
6)Layer Palette - Select Layer Below
7)Effects - 3D Effects - Chisel - #60afc0 Colour used
8)Layer Palette - Blend Mode: Screen
9)Layer Palette - Select Top Layer
C)Small Frames
1)Minimize your working image - Maximize mist_psppeg_st.psp
2)Make certain alpha_summertime_psppeg.psp is minimized in your psp
3)Selections - Load/Save Selections - Load Alpha Channel - Select Selection #1
(Note: If using a different mist to move the selection to a better placement,
Mover Tool, Selections - Edit, Move the red rectangle, when happy, Selections - Edit again, Edit - Copy)
4)Edit - Copy - Edit - Paste - As a New Image
5)Layers - Merge All
6)Effects - Plugins - Eye Candy 5 Impact - Glass - Settings - User Settings - Select summer_glass psppeg
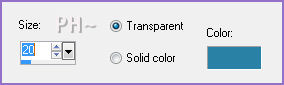
7)Image - Add Borders - 20 pixel symmetric border in white
8)Effects - Plugins - Filters Unlimited 2.0 - Buttons & Frames - Glass Frame 1 - Default Settings
9)Repeat Steps 3) to 8) For Alpha Selections 2 and 3
10)When your 3 Frames are done, Maximize your working image
11)Layers - New Raster Layer
12)Selections - Load/Save Selections - Load psppeg_summer2.sel
13)Maximize your First Frame - Edit - Copy - Close - Edit - Paste - Into Selection
14)Selections - Select None
15)Repeat Steps 11) to 14) For the other two frames
16)Text Tool


17)Material Palette - Foreground Should still be the purple, background the white
18)Type a Large S
19)Layers - Convert to Raster
20)Mover Tool - Position to the left of one small frame
21)Layers - Duplicate twice
22)Move each S to the left side of the other two frames
23)Text Tool - Same Settings except change size to 48, Material Palette - Null Foreground
24)Type "and" above image to the left
25)Layers - Convert to Raster
26)Mover Tool - Position above the left frame near the S
27)Repeat Steps 23) to 26) For the top right Frame and type "ky", also for the other frame and type "urf"
28)Layer Palette - null the 4 bottom Layers, Make sure the top layer is selected
29)Merge - Merge Visable
30)Effects - 3D Effects - Drop Shadow: 4,4,40,10, black
31)Layers - View - All
D)Frame One
1)Layers - Merge Visable
1)Effects - Plugins - Filters Unlimited 2.0 - Buttons & Frames - Glass Frame 1
2)Image - Resize 75%, all Layers unchecked
3)Effects - Image Effects - Offset - Horizontal: 80, Vertical: 0, transparent
4)Layers - New Raster Layer
5)Layers - Arrange - Send to bottom
6)Flood Fill with Foreground Colour
7)Effects - Plugins - Filters Unlimited 2.0 - &Sandflower Specials - Color Atmospherizer - Default Settings
8)Effects - Plugins - Simple - Quick Tile
9)Layer Palette - Select Top Layer
E)Mask Layers
1)Layers - New Raster Layer
2)Flood Fill White
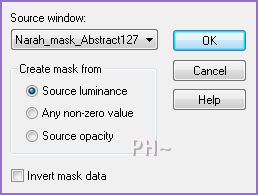
3)Layers - New Mask Layer - From Image - Mask:Narah_mask_Abstract127
4)Adjust - Sharpen - Sharpen More
5)Layers - Merge - Merge Group
6)Layers - New Raster Layer
7)Flood Fill White
6)Layers - New Mask Layer - From Image - Mask: maks3 - Same Settings
7)Layers - Merge - Merge Group
8)Layer Palette - Opacity: 50
Layers - Merge - Merge Visable
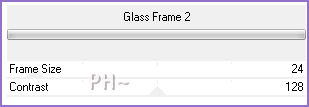
9)Effects - Plugins - Filters Unlimited 2.0 - Buttons and Frames - Frame #2
F)Accent Tubes
1)Maximize accent1_psppeg_st.psp - Edit - Copy - Close image - Edit - Paste As a New Layer.
2)Mover Tool - Position: Upper Left Corner of Frame
3)Add Text, We Repeated the same text except changed the Colour
4)Maximize ScrapSheetDragonflies6-06-LM.psp (Made by Lori) - Select Layer 24 or whatever you desire - Edit - Copy - Close image - Edit - Paste As a New Layer.
5)Image - Mirror - Image Flip
6)Effects - 3D Effects - Drop Shadow - Same Settings
K)Finalizing
1)Add your watermark
2)Layers - Merge - Merge All Flatten.
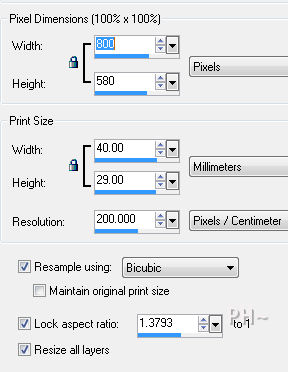
4)Image - Resize 800 pixels.
Your done.
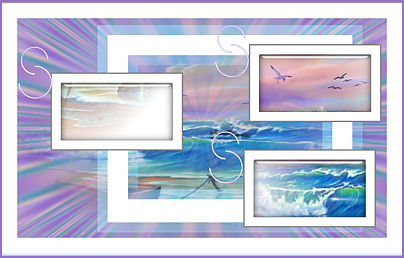
Another Example
Home
©PSPPEG 2011
All Rights Reserved