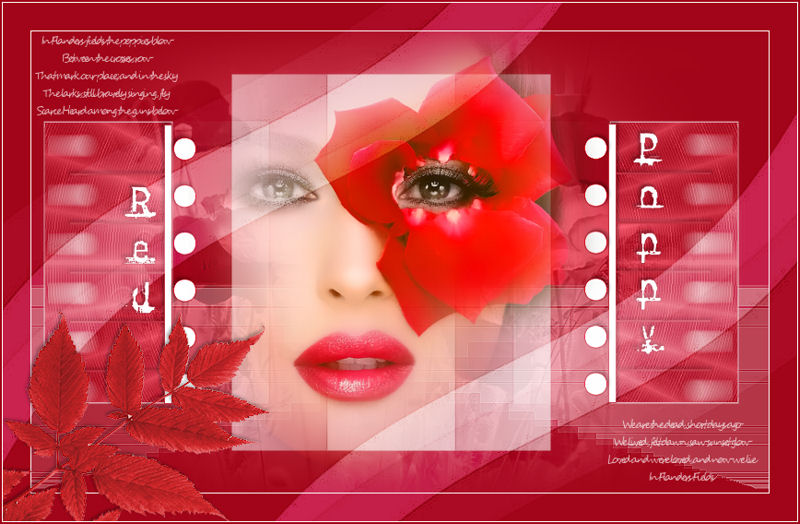
Red Poppy
Filters Required:
VM Instant Art
------------------------
Tubes Required:
* Face Tube
*Floral Mist
*2 Masks
*elements
All the above are provided unless you decide to use your own
Main Tube by Nikita
Other Tube from Guismo
Psppeg has been provided permission to use the tubes provided in this tutorial.
To view more Fantastic Tubes by the Tuber click below.
Tubes Here
Many Thanks!
------------------------
Materials
------------------------
|
Preparation:
Look thru the list of filters and make certain you have them.
Open all tubes and masks in your psp program and minimize.
Material Palette - Set foreground to #a20519 and background to #ffffff or select a medium color and white to work with.
Lets Begin:
A)Background
1)File, New Image, 800 w x 500 h, transparent.
2)Flood Fill with Foreground Colour
3)Maximize calguismisted0832012.psp - Edit - Copy - Close - Edit - Paste As a New Layer
4)Image - Resize - 70%, all layers unchecked
5)Layer Palette - Blend Mode: Luminance Legacy, Opacity: 50
6)Layers - Merge Visable
B)Mask One
1)Layers - New Raster Layer
2)Flood Fill with Background Colour (Right click your mouse)
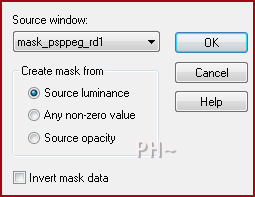
3)Layers - New Mask Layer - From Image Mask: mask_psppeg_rd1
4)Layers - Merge - Merge Group
5)Effects - Simple - Top Left Mirror
6)Effects - Edge Effects - Enhance
7)Layer Palette - Opacity: 60
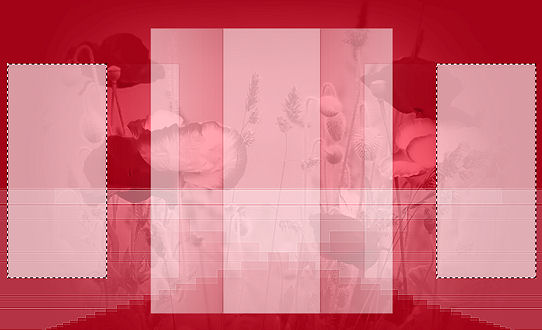
C)Background Effect
1)Layers - New Raster Layer
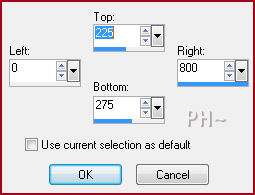
2)Selections Tool - Rectangular - Custom Selection
3)Flood Fill with White
4)Selections - Select None
3)Effects - Reflection Effects - Feedback

4)Selections Tool - Rectangular - Custom Selection - Same Settings - Hit your Delete Key
5)Selections - Select None
5)Effects - Edge Effects - Enhance
6)Layer Palette - Blend Mode: Screen, Opacity: 70
7)Layers - Duplicate
8)Image - Mirror
9)Layers - Merge - Merge Down
D)Accent Effect
1)Layer Palette - Layer - 2nd From Bottom (The Mask Layer)
2)Magic Wand Tool - Mode: Add, Tolerance 30, Feather 0, Anti-alias checked
3)Select The two Side Rectangles
4)Layer Palette - Select Top Layer - Hit Your Delete Key
4)Selections - Modify_ contract - 2 pixels
5)Layers - New Raster Layer, Flood Fill with White (Keep Selected)
6)Effects - Plugins - VM Instant Art - Spider Web (Keep Selected)

7)Layer Palette - go back to the Mask Layer - Hit your Delete Key
8)Selections - Select None
Layer Palette - Select Top Layer Blend Mode: Luminance Legacy, Opacity: 30
E) Element
1)Maximize element_psppeg_rd1.psp - Edit - Copy - Close image - Edit - Paste As a New Layer.
F) Main Tube
1)Maximize 12930412993_femmes_nikita.psp - Edit - Copy - Close image - Edit - Paste As a New Layer
2)Image - Resize 70%, all layers unchecked
F) Text
1)Maximize text_psppeg_rd.psp - Edit - Copy - Close image - Edit - Paste As a New Layer
2)Effects - Image Effects - Offset - Horizontal: 0, Vertical: 20, transparent
J)Framing
1)Layers - Merge - Merge All
2)Image - Add Borders - 1 pixels symmetric border - with your Background Colour
3)Image - Add Borders - 30 pixels symmetric border - with your Foreground Colour
4)Layers - New Raster Layer
5)Flood Fill with Background Colour
6)Layers - New Mask Layer - From Image - Mask: mask_psppeg_rd2 - Same Settings
7)Layers - Merge - Merge Group
8)Effects - Edge Effects - Enhance
9)Layer Palette - Blend Mode: Soft Light
10)Maximize WishingonaStar_WoodNymph_Elements_001.psp - Edit - Copy - Close - Edit - Paste - As a New Layer
11)Mover Tool: Position In the Far Bottom Left Corner until the leaves are under the word "Red"
12)Effects - 3D Effects - Drop Shadow - 4, 4, 45, 10.00, black
14)(Optional: Step 12, 14) Maximize text2_psppeg_rd.psp - Edit - Copy - Close - Edit - Paste - As a New Layer
15)Layer Palette - Opacity: 67
16)Image - Add Borders - 1 pixels symmetric border - with your Background Colour
17)Image - Add Borders - 2 pixels symmetric border - with your Foreground Colour
K)Finalizing
1)Add your watermark
2)Add text
3)Layers - Merge - Merge All Flatten.
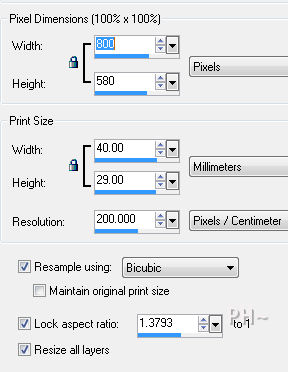
4)Image - Resize 800 pixels.
Your done.
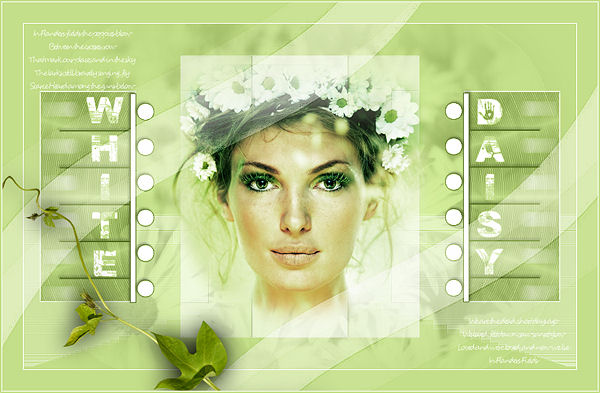
Another Example
Home
©PSPPEG 2011
All Rights Reserved