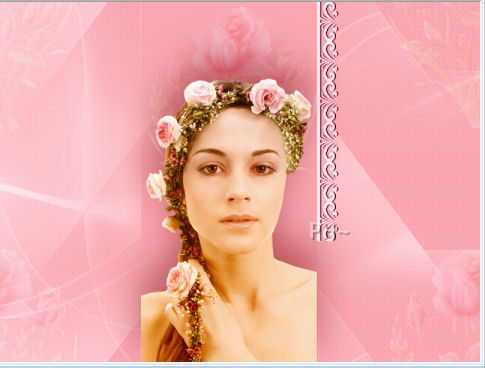
She Waits For You
Romantic Art
Filters Required:
AP 01 Innovations
Nik Software
Alien Skin Eye Candy 5 Perspective
AAA Filters Tweed Frame
------------------------
Tubes Required:
Main Tube Female
Flower Tube
Lace Tube
Butterfly
Supplies including selections and mask
------------------------
or use the Ones Used Here
------------------------
Which include:
Gerry-faces_57-_13_juni_2008 (face)
RoseEarlene-Shorebug (flower)
psppeg_lace
All were found at FlowerPowerPartageTubes located here
|
Preparation:
Open all tubes and mask in your psp program and minimize.
Set foreground color on #ffe8ed, background color on #f9a7b2 or set a chosen color light in foreground, dark in background.
Set your foreground to gradient, foreground/background, Angle 0, Repeat 0, Style Rectangular 50/50
File, New Image, 800wx600h, transparent.
Flood Fill with Gradient
Lets Begin:
1)Layers-New Raster Layer.
Flood fill Background Color.
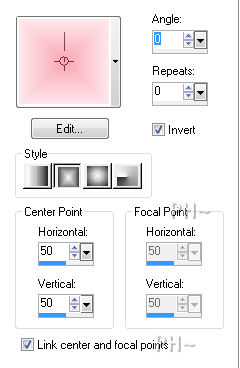
Layers - New Mask Layer - From Image - Select Mask aditascreations_mask_05 and Source Luminance and check inverted.
Layers - Merge - Merge Group.
2)Maximize RosesEarlene~Shorebug (flower tube) - Edit - Copy. Edit - Paste - As a New Layer. Minimize tube, you need it later.
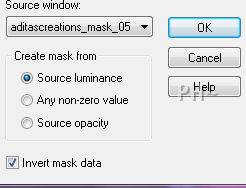
Image - Resize - 80%, all layers unchecked.
Position at top of canvas
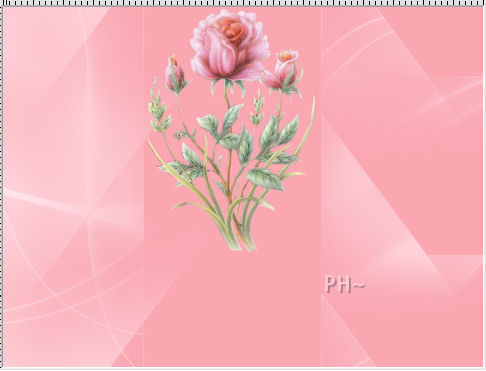
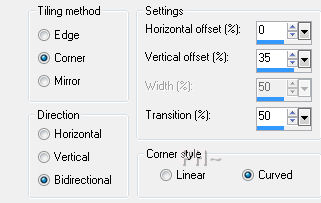
Effects - Image Effects - Seamless Tiling - Corner, Bidirectional, Horizontal 0, Verical offset 35, Transition 50, Curved.
Layer Pallette - Change Blend Mode to Soft Light
2)Layer Palette Select your Second Layer, the Mask Layer. Right Click on it, Select Duplicate.
Layers - Arrange - Move Up.
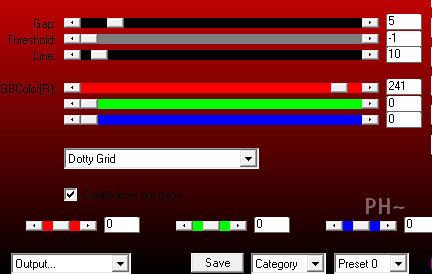
Effects - Plugins - AP 01 Innovations - Lines Silver Lining - Select Dotty Grid and Change the RGB{R} Color Red to 241.
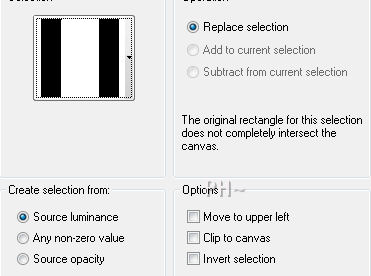
Selections - Load Selections - Load Selection from Disk - select psppeg_rose1, Source Luminance, Replace Selection.
Hit your Delete Key on your Keyboard. Selections - Select None.
Layer Palette - Lower the Opacity to 32.
3)Maximize Gerry-faces_57_13_juni_2008. Edit - Copy. Close tube. Edit - Paste As a New Layer.
Image - Resize - Same Settings as before. 80%, all layers unchecked.
Position your tube as shown below.

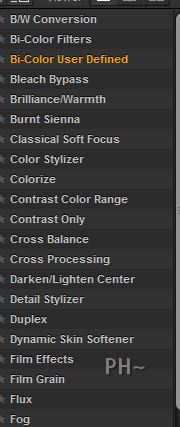
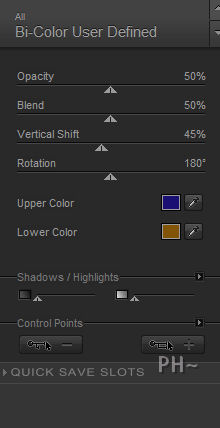
Effects - Plugins - Nik Software - Color Effects Pro 3.0 - Bi-Color User Defined - Default Settings.
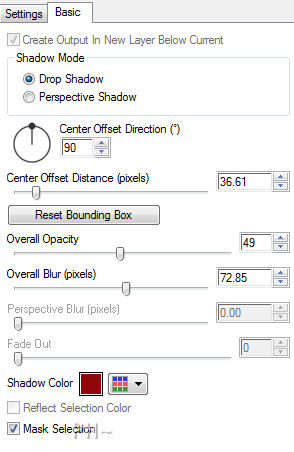
Effects - Plugins - Alien Skin Eye Candy 5 Impact - Perspective Shadow - On the Settings Tab Select Drop Shadow Blurry. On the Basics Tab Change Settings as Below. Setting Changes: Direction 90%, Opacity 49, color #800000.
4)Maximize psppeg_lace. Edit - Copy. Close tube. Edit - Paste As a New Layer.
Adjust - Hue and Saturation - Colorize - Values Hue: 250 Saturation: 223.
Layer Palette - Change the Blend Mode to Hard Light and lower the opacity to 70.)
-------------------------------------------
(Different Colors Used for tut follow: Color Palette - Select Background Layer. Left Click. On the Materials Tab copy the H: and S: numbers down. This is your Hue and Saturation.
Adjust - Hue and Saturation - Colorize. Change the values to match your Hue and Saturation of your background color.)
-------------------------------------------
Position top right edge of mask in the center as shown below
Layers - Duplicate
Image - Flip
Position directly below and match up the lines.
Layers - Merge - Merge Down.
Effects - 3D Effects - Drop Shadow.1,1,45,8 color #770103.
Layers - Duplicate.
Image - Mirror.
Position line it up with the edge of the center mask and the ladies shoulder.
Layers - Merge - Merge Down.
Layer Palette - Lower the Opacity to 50.
5)Maximize RoseEarlene~Shorebug(flower). Edit - Copy. Close tube. Edit - Paste As a New Layer.
Image - Resize - 50%. All Layers Unchecked.
Adjust - Sharpen - Unsharp Mask - Radius 2, Strength 50, Clipping 5.
Position center, left. Level with her head.
Effects - 3D Effects - Drop Shadow - Same settings.
Layers - Duplicate.
Image - Mirror, Center it by moving slightly towards the girls head.
6)Maximize psppeg_rosetext. Edit - Copy. Close tube. Edit - Paste As a New Layer.
Position top right corner.
7)Layers - Merge - Merge All Flatten.
Image - Borders - Add a 1 symmetric pixel border in black.
Image - Borders - Add a 30 symmetric pixel border in background color.
Effects - Plugins - AAA Filters - Tweed Frame - 30, 150, 0,0,0,0,100. Lighten.
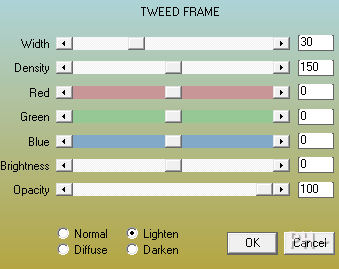
Image - Borders - Add a 1 symmetric pixel border in black.
8)Add your watermark.
Maximize A_bunch_of_Butterflies. Layer Palette - Select a butterfly. We selected Layer 4. Edit -Copy. Close tube. Edit - Paste As a New Layer.
Image - Resize 60%, all layers unchecked, same settings.
Image - Mirror.
Position near her shoulder overlapping the mask.
Layers - Merge - Merge All Flatten.
Save it. Your Done.
Home
©PSPPEG 2011
All Rights Reserved