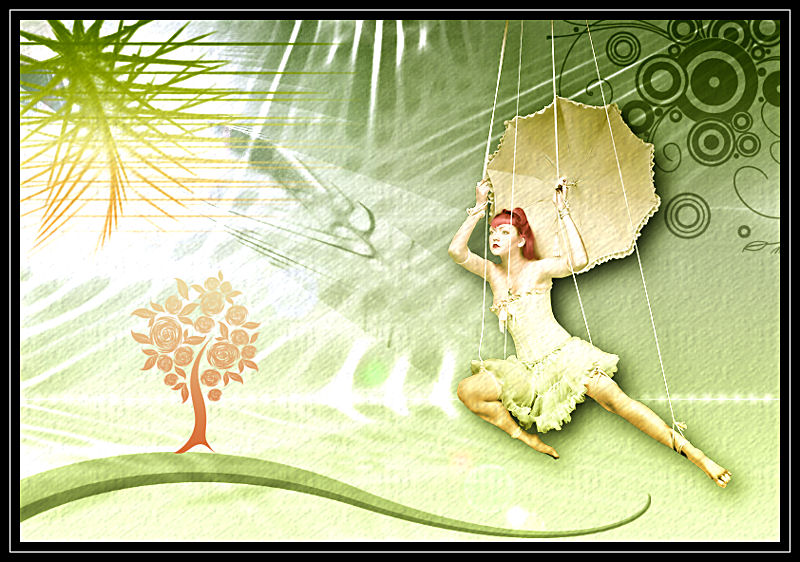
Parabola Lines
Abstract ~ Lines
This tutorial contains shapes that give the feeling of movement. What does this mean?
The answer is at the bottom of this tutorial.
Filters Required:
Eye Candy 5 Impact
Nik Software - Color Efex Pro 3.0
Filters Unlimited - Lens Flares
------------------------
Tubes Required:
Main Tube Female
Elements
Selections and a Mask
Many Thanks to Claudiaviza for the female tube
------------------------
Materials
------------------------
|
Preparation:
Place Selections in your Selections Folder.
Open tubes and mask in your psp program and minimize.
Change your foreground color to white, #ffffff, and background color to #808080.
(This tutorial is created in greyscale so that color can be added at the end.)
Lets Begin:
1)File, New Image, 800wx550h, white.
Layers - New Raster Layer
Flood fill with background color by right clicking mouse.
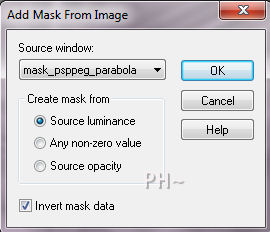
2)Layers - New Mask Layer - From Image - Select mask_psppeg_parabola, Source Luminance, Invert Checked.
Layers - Merge - Merge Group
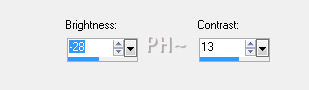
Adjust - Brightness and Contrast - Brightness/Contrast - minus -28, 13.
Layers - Merge - Merge Visable
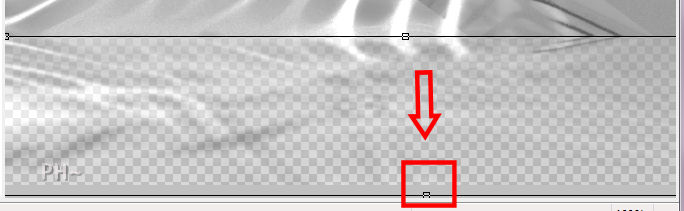
3)Hit your d key on your keyboard to get your Raster Deform Tool.
View - Rulers
Select the Center Node - Bottom of Canvas - Slide up to 400 pixels on the side ruler.
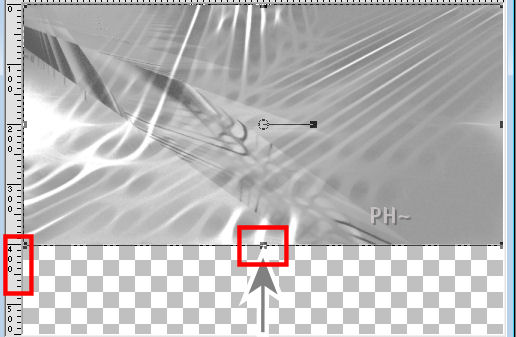
Effects - Plugins - Eye Candy 5 Impact - Perspective Shadow - Settings Tab: Reflect Infront - On the image notice the Raster Deform Tool - Slide the Center node down to bottom.
Layers - Duplicate.
Layers - Merge - Merge Visable.
Effects - Plugins - Filters Unlimited 2.0 - Lens Flare - Flare 05 - Default Settings.
4)Material Palette - Lock background - White Foreground
Pen Tool - Settings: Select Draw Lines, width 8,Line Style: Dotted.

Draw a Line across at 400 pixels side ruler.
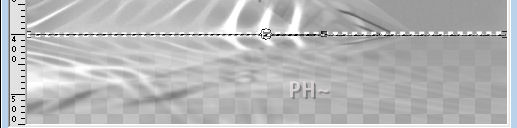
Layers - Convert to Raster.
Adjust - Blur - Gaussian Blur - Radius: 3.
5)Maximize element1_psppeg_parabola.psp - Right Click title of Image - Copy
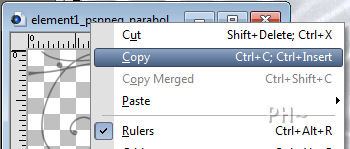
Go to your Image - Right Click Title - Paste - Paste As New Layer
Mover Tool - Position Top Right Corner.
6)Maximize tubeclaudiaviza-mujer1973.psp - Copy - Paste as a New Layer
Image - Resize 55%, all layers unchecked.
Adjust - Sharpen - Sharpen.
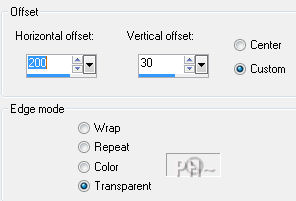
Effects - Image Effects - Offset - 200, 30, transparent.
Effects - Plugins - Perspective Shadow - Settings Tab: Drop Shadow, Blurry - Default Settings.
7)Layers - New Raster Layer
Selections - Load/Save Selection - Load Selection From Disk - Load psppeg_ps1.sel.

Flood Fill Black, Repeat.
Selections - Select None.
8)Layers - New Raster Layer.
Selections - Load/Save Selection - Load Selection From Disk - Load psppeg_p2.sel.
Material Palette - Change Foreground to Gradient - Corel 06_039, Rainbow or any Gradient of your liking.
Style - Linear - Angle and Repeats 0.
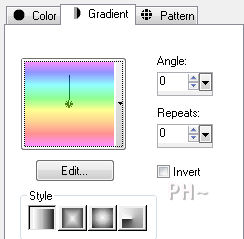
Flood Fill
Selections - Select None.
9)Maximize element2_psppeg.psp - Right Click title of Image - Copy
Go to your Image - Right Click Title - Paste - Paste As New Layer
Mover Tool - Position anywhere above the curving line.
10)Layers - Merge - Merge All.
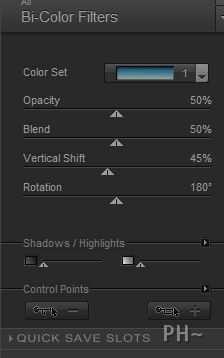
Effects - Plugins - Nik Software - Color Efex Pro 3.0 - Bi-Color Filters - Color Set: Select whichever you like best. Repeat if desired.
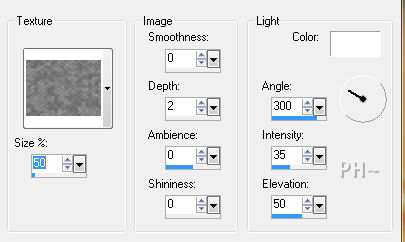
Effects - Texture Effects - Texture - Pattern: Hatch Lump.
11)Image - Add Borders - Add a 10 pixel Symmetric Border in #000000.
Image - Add Borders - Add a 1 pixel Symmetric Border in #ffffff.
Image - Add Borders - Add a 10 pixel Symmetric Border in #000000.
12)Add your watermark
Add text
Layers - Merge - Merge All Flatten.
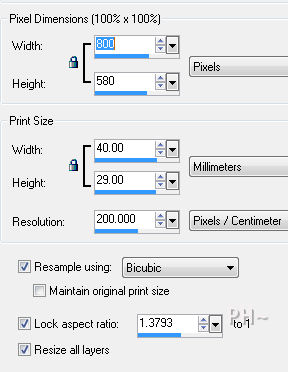
Image - Resize 800 pixels.
Your done.
The answer to the question what are shapes that create movement: Any Shape that is diagonal will give the effect of movement in art.
Another Example

Home
©PSPPEG 2011
All Rights Reserved