Preparation:
Open all tubes in your psp program and minimize.
Change your foreground color to white, #ffffff, and background color to #a9bd85.
Lets Begin:
1)File, New Image, 800wx550h, transparent.
Flood fill with background color by right clicking mouse.
2)Layers - New Raster Layer
Flood Fill white.
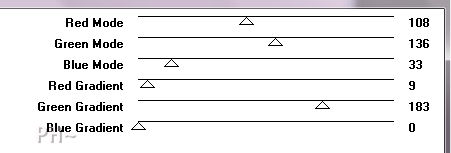
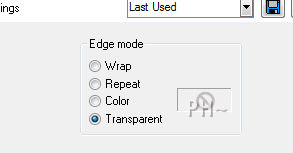
Effects - Plugins - Filter Factory M - Ambrosia - Default Settings.
Effects - Geometric Effects - Circle - Transparent.
Layers Duplicate.
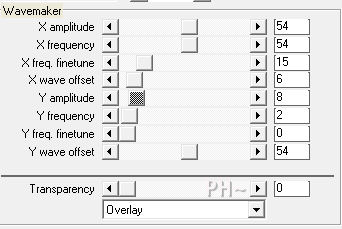
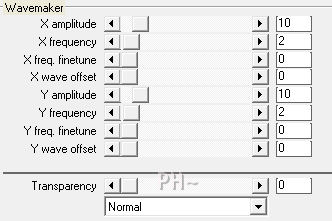
3)Effects - Plugins - VanDerLee - Unplugged X - Wavemaker
Adjust - Blur - Gaussian Blur - Radius 3.00
Layers - Duplicate.
Layers - Merge - Merge Visable.
4)Layers - New Raster Layer
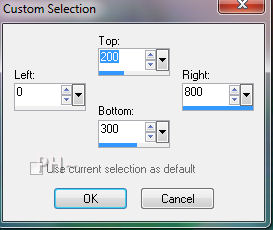
Selections Tool - Selection - Custom Selection - 0, 200, 800, 300.
Flood Fill White.
5)Effects - Plugins - Filter Factory M - Ambrosia - Default Settings
Selections - Select None.
Effects - Plugins - Toadies - What Are You? - 15,15.

Effects - Edge Effects - Enhance
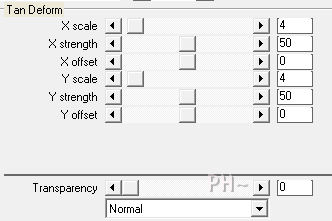
6)Effects - Plugins - VanDerLee - Unplugged X - Tan Deform - Default Settings.
Effects - Plugins - VanDerLee - Unplugged X - Wavemaker - Default Settings.
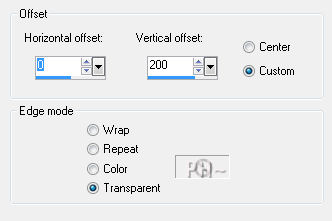
7)Effects - Image Effects - Offset - 0, 200, transparent.
Layers Duplicate
Image Flip
8)Layers - Merge - Merge Down.
Layer Palette - Blend Mode: Overlay - Opacity: 50.
Image Mirror.
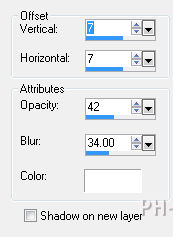
Effects - 3D Effects - Drop Shadow
9)Maximize day_psppeg_element1.psp - Edit - Copy - Close Tube - Edit Paste - As New Layer.
10)Maximize day_psppeg_element2.psp - Edit - Copy - Close Tube - Edit Paste - As New Layer
Layer Palette - Blend Mode: Soft Light
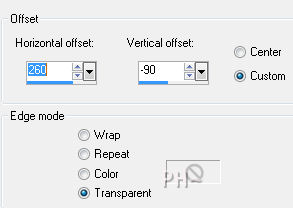
Effects - Image Effects - Offset - 260, minus -90, transparent.
11)Maximize Butterfly02_dhedey.psp - Edit - Copy - Close tube - Edit - Paste as a New Layer.
Image - Mirror
Image - Resize - 70%, all layers unchecked.
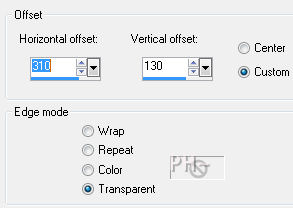
Effects - Image Effects - Offset - 310, 130, transparent.
Effects - 3D Effects - Drop Shadow -same settings, except change color to #000000.
12)Maximize JHanna_371 tubes1+2©Sniege.psp - Edit - Copy - Close tube - Edit - Paste as a New Layer.
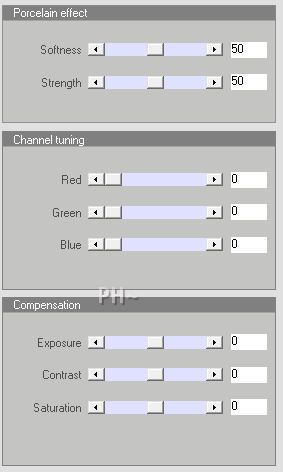
Effects - Plugins - Xero _ Porcelain - Change Blue to 0.
Effects - 3D Effects - Drop Shadow - Same Settings.
Mover Tool - Position to the left, touching the bottom of the image border.
13)Layers - Merge - Merge All Flatten.
Image - Add Borders - Add a 1 pixel Symmetric Border in #000000.
Image - Add Borders - Add a 50 pixel Symmetric Border in #ffffff.
Image - Add Borders - Add a 2 pixel Symmetric Border in #000000.
14)Add your watermark
Add text
Layers - Merge - Merge All Flatten.
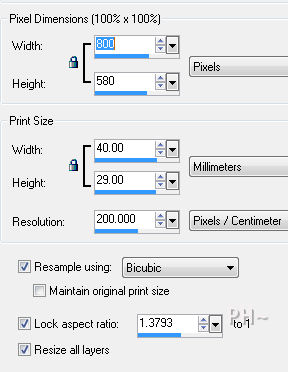
Image - Resize 800 pixels.
Your done.
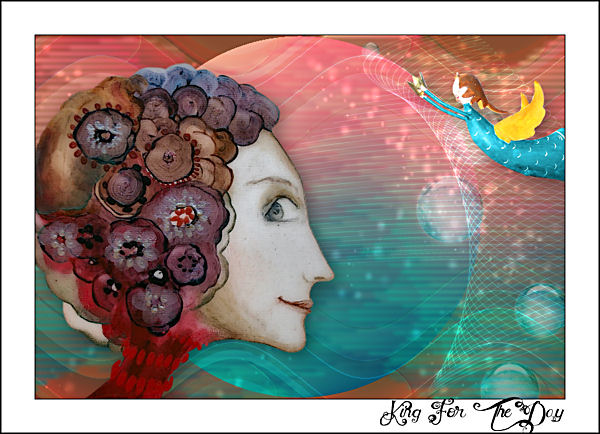
The answer to the question what is the center of interest: It is the place you want the viewers eyes to go to first. In this image that would be the ladies eye.
Another Example
Home
©PSPPEG 2011
All Rights Reserved
