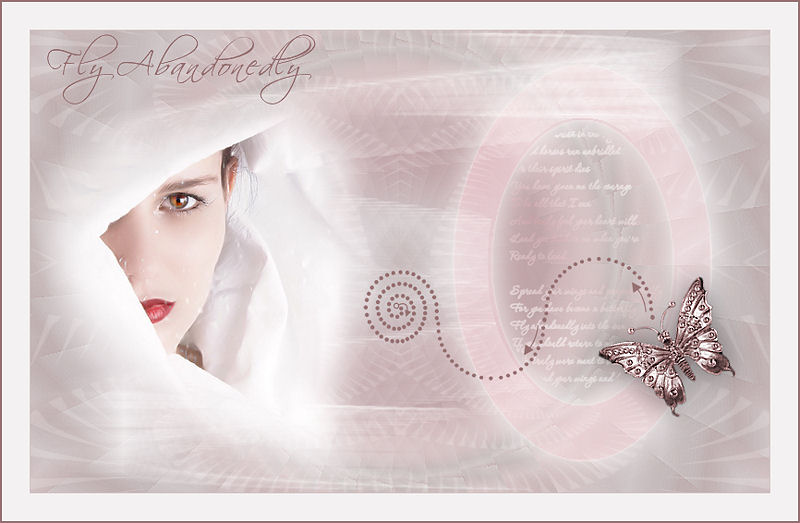
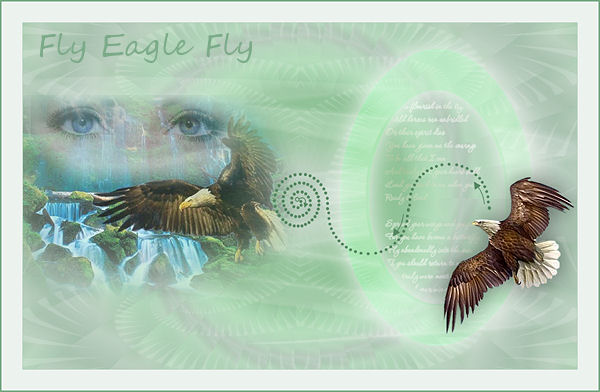
Fly Abandonedly
Filters Required:
Frishluft
Mehdi - Eraser Genuine
Simple
Flaming Pear - Flexify 2.0
Dragon Fly - Sinedots 2
Filters Unlimited 2.0 - &BKG Kaleidoscope
If you need a filter..go Here All Plugins are located within these pages.
------------------------
Tubes Required:
Main Tube Female by Nikita
elements
one mask by Narah
You can find Nikita's Tubes Here!
Many Thanks!
------------------------
Materials
------------------------
|
Preparation:
Look thru the list of filters and make certain you have them.
Open all tubes and masks in your psp program and minimize.
-------------------------
Material Palette
Material Palette - 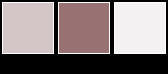
I encourage you to use your own colour palette or follow the tutorial
To create your colour use the same values as in the tutorial with a colour from your tube
Lets Begin:
A)Background
1)File, New Image, 800 w x 500 h, transparent.
2)Material Palette - Open your colour palette - Set Foreground to the first colour and your background to the last colour on the palette
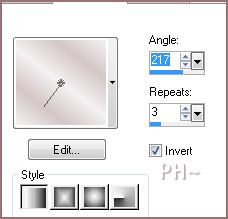
3)Material Palette - Change Foreground to gradient - Gradient: Foreground/Background, Style: Linear
4)Effects - Plugins - Frishluft - Radial Blur - Default
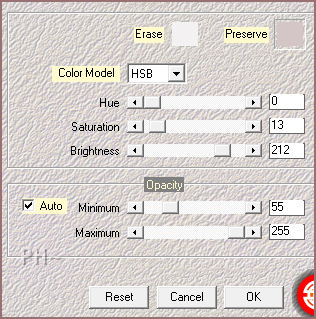
5)Effects - Plugins - Mehdi - Eraser Genuine
6)Layers - New Raster Layer
7)Layers - Arrange - Send to Bottom
8)Material Palette - Set Foreground to Colour - Change colour to the middle (darker) colour in the colour palette
9)Flood Fill with Foreground Colour
10)Layers - Merge Visable
11)Effects - Plugins - Simple - Diamonds
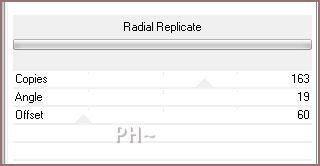
12)Effects - Plugins - Filters Unlimited 2.0 - &Bkg Kaleidoscope - Radial Replicate
B)Side Circle and Wording
1)Selections - Load/Save Selections - Load: psppeg_sb1.sel
2)Selections - Promote Selections to Layer
3)Selections - Modify - Contract - 50 pixels - Hit Delete Key
4)Selections - Select None
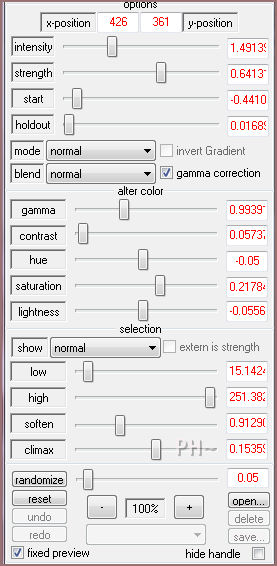
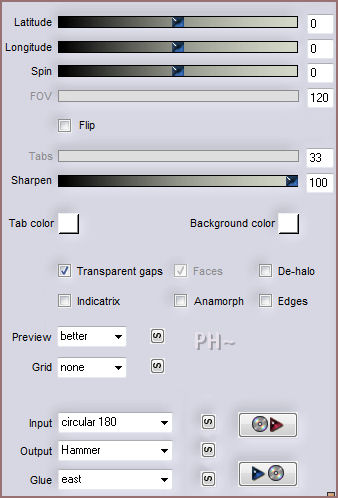
5)Effects - Plugins - Flaming Pear - Flexify 2
6)Image - Resize - 150%, all layers unchecked
7)Effects - Image Effects - Offset - Horizontal: 200, Vertical: 0, transparent
8)Effects - 3D Effects - Drop Shadow - 0, 0, 50, 50.00, white
9)Layer Palette - Blend Mode: Overlay
10)Layer Palette - Select Layer Below
11)Maximize text_psppeg_fly.psp - Edit - Copy - Close - Edit - Paste As a New Layer
12)Selections - Load/Save Selections - Load: psppeg_sb2.sel
13)Mover Tool - Position text inside Selection - Centering text
14)Selections - Invert - Hit Your Delete Key
15)Selections - Select None
16)Image - Resize - 90%, all layers unchecked
17)Mover Tool - Position text so that it does not overlap the circle surrounding it
18)Layer Palette - Blend Mode: Screen
C)Mask Layer
1)Layer Palette - Select Bottom Layer
2)Layers - New Raster Layer
3)Flood Fill with Background Colour
4)Layers - New Mask Layer - From Image - Mask: Narah_mask_Abstract165, source luminance checked, Inver Mask Not checked
5)Layers Merge Group
6)Layer Palette - Blend Mode: Soft Light - Opacity: 42
7)Selections - Load/Save Selections - Same Settings - Hit Your Delete Key
8)Selections - Select None
D)Sinedot Layer
1)Layers - New Raster Layer
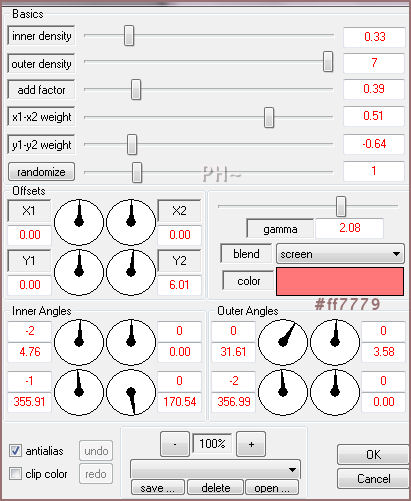
2)Effects - Dragon Fly - Sinedots 2.0 (Note* Colour will change to White after a few steps)
3)Effects - Distortion Effects - Wind - From Right, Strength: 100
5)Selections - Load/Save Selections - Same Settings - Hit Your Delete Key
E)Main Tube
1)Maximize 1228305175_femmes.psp - Edit - Copy - Close - Edit - Paste - As a New Layer
2)Effects - Image Effects - Offset - Horizontal: minus 200, Vertical: minus 40, transparent
F)Decor Layers
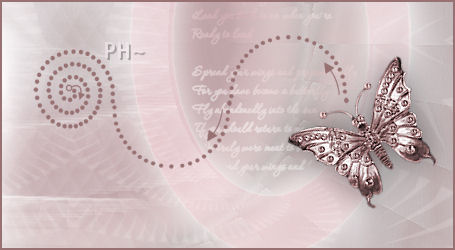
1)Maximize butterflies~jewelssheet.psp - Edit - Copy Selection - Close - Edit - Paste - As a New Layer
2)Image - Resize - 70%, all layers unchecked
3)Material Palette - Left Click Darker Colour
4)On the Flyout - Make Note of the numbers in both the H: and S:, write them down

5)Adjust - Hue and Saturation - Colourize - Fill in the numbers (The tutorials are: H:255, S: 40)
6)Image - Free Rotate - 35%, to the Left, All layers Unchecked
7)Mover Tool - Position: On the Right Lower Side of the Circle surrounding text
8)Layers - Arrange - Move to Top
9)Adjust - Sharpen - Sharpen More
10)Effects - 3D Effects - Drop Shadow - Same Settings except change the colour to black
11)Maximize element_psppeg_fly.psp - Edit - Copy - Close - Edit - Paste - As a New Layer
12)Mover Tool - Position: As Shown Below
G)Framing
1)Image - Add Borders - Add a 1 pixel symmetric border in the medium value colour
2)Image - Add Borders - Add a 30 pixel symmetric border in the light value colour
3)Image - Add Borders - Add a 2 pixel symmetric border in the darker value colour
4)Image - Add Borders - Add a 50 pixel symmetric border in Your Foreground Colour
K)Finalizing
1)Add Text
2)Add your watermark
3)Layers - Merge - Merge All Flatten.
Your done.
Another Example
Home
©PSPPEG 2011 - 2012
All Rights Reserved
Tutorial created July 24th, 2012