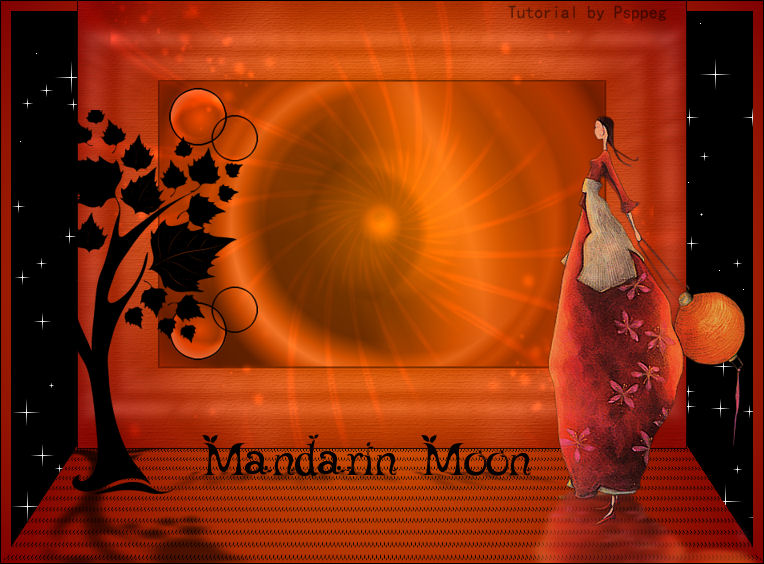
Mandarin Moon
Filters Required:
Eye Candy 5 - Impact
Simple - 4 Way Average
dsb - Isotope
Cybia - Emboss Works
Cybia - Screen Works
If you need a filter..select the linked image below and scroll down the page.

------------------------
Tubes Required:
JHanna Main tube
elements
Main Tube was created by JHanna. Thank you Johanna for the permission of using your tube in the tutorial. To receive her tubes 
------------------------
Materials
------------------------
|
Preparation:
Look thru the list of filters and make certain you have them.
Open all tubes in your psp program and minimize.
Material Palette - Set Foreground Color to #ff9656 and Background Color to #000000, black

Lets Begin:
A)Distant Background
1)File, New Image, 760wx560h, transparent.
2)Flood Fill with Foreground Color
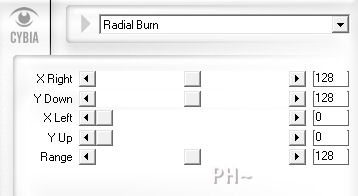
3)Effects - Plugins - Cybia - Emboss Works - Radial Burn
B)Overlay
1)Layers - New Raster Layer, Flood Fill Foreground Color
2)Selections - Select All
3)Selections - Modify - Contract - 100 pixels
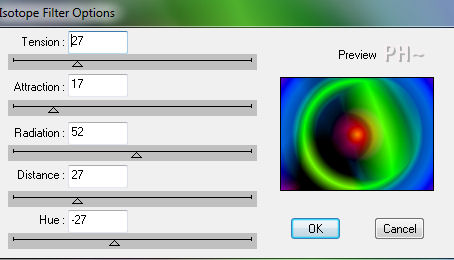
4)Effects - Plugins - dsb flux - Isotope
5)Selections - Promote Selection to Layer (Keep Selected)
6)Layer Palette - Select Middle Layer - Hit your delete key
7)Selections Invert
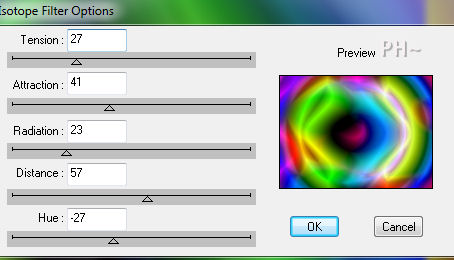
8)Effects - Plugins - dsb flux - Isotope
9)Effects - Plugins - Simple - 4 Way Average
10)Selections - Select None
11)Layer Palette - Blend Mode:Luminance Legacy, Opacity: 22
12)Effects - Texture Effects - Texture
13)Layer Palette - Select Top Layer, Blend Mode: Luminance Legacy, Opacity: 50
14)Selections - Select All, Select Float, Select Defloat
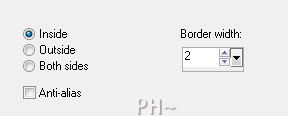
15)Selections - Modify - Select Selection Borders
16)Layers - New Raster Layer
17)Flood Fill with Background Color
18)Selections - Select None
19)Layers - Merge - Merge Down
20)Effects - Plugins - Eye Candy 5 Impact - Backlight - Settings Tab: Preset - psppeg_backlight3
C)Element One
1)Layer Palette - Select Top Layer
2)Maximize mm_element1_psppeg.psp - Edit - Copy - Close Tube - Edit - Paste - Paste As a New Layer
3)Effects - Image Effects - Offset - Horizontal minus 230, Vertical 0, transparent
4)Selections - Select All
5)Selections - Float
6)Selections - Modify - Select Selection Border - Same Settings
7)Layers - New Raster Layer
8)Flood Fill Background Color
9)Selections - Select None
10)Layers - Duplicate
11)Image - Resize - 80%, all layers unchecked
D)Element Two
1)Maximize mm_element2_psppeg.psp - Edit - Copy - Minimize - Edit - Paste As a New Layer.
2)Effects - Image Effects - Offset - Same Settings
3)Layers - Duplicate
4)Image - Mirror
5)Image - Flip
E)Mask Layer
1)Layers - New Raster Layer
2)Flood Fill Foreground Color
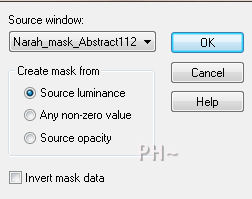
3)Layers - New Mask Layer - From Image - Select: Narah_mask_Abstract112
4)Layers - Merge - Merge Group
5)Layer Palette - Blend Mode: Dodge, Opacity:12
6)Layers - Merge - Merge All
F)Framing
1)Image - Add Borders - Add a 1 pixel Symmetric Border in Color #000000
2)Layers - Promote Background to Layer
3)Image - Resize - Same Settings
4)Effects - Image Effects - Offset - Horizontal 0, Vertical 58, transparent
5)Layers - New Raster Layer
6)Layers - Arrange - Send to Bottom
7)Flood Fill Foreground Color
8)Effects - Plugins - Cybia - Emboss Works - Same Settings
9)Effects - Plugins - Cybia - Screen Works

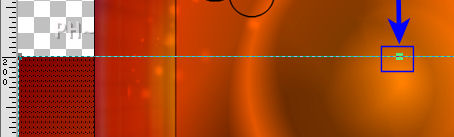
10)Hit your K Key, View - Rulers
11)Select the Center node of the Deformation Tool with your mouse, slide down to 200 on the side ruler
12)Then Holding your Ctrl Key, Select one of the top corner nodes and slide in until the side edge lines up with the corner of the image on the top layer

G)Background of Frame
1)Layers - New Raster Layer
2)Layers - Arrange - Send to Bottom
3)Flood Fill Foreground Color
4)Effects - Plugins - Cybia - Emboss Works - Same Settings
5)Selections - Select All
6)Selections - Modify - Contract - 10 pixels
7)Hit your Delete Key - Then Flood Fill with Background color (Keep Selected)
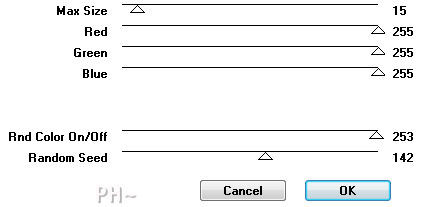
8)Effects - Plugins - VM Natural - Sparkle
9)Selections - Select None
H) Element Three
1)Layer Palette - Select Top Layer
2)Maximize decorative trees_11.png - Edit - Copy - Close image - Edit - Paste As a New Layer
3)Image - Resize - Same Settings
4)Effects - Image Effects - Offset - Horizontal: minus 230, Vertical: minus 20
5)Effects - Plugins - Eye Candy 5 Impact - Perspective Shadow - Settings Tab: Select Reflections #1 psppeg
I)Main Tube
1)Maximize JHanna_365.psp - Edit - Copy - Close image - Edit - Paste As a New Layer.
2)Image - Resize - 80%, all layers unchecked
3)Image - Mirror
4)Mover Tool - Position to the Right side of the Moon
5)Effects - Plugins - Eye Candy 5 Impact - Perspective Shadow - Same Settings
6)Image - Add Borders - Add a 1 pixel syymetric Border in your Background Color
J)Finalizing
1)Add your watermark
2)Add the text provided or your own text
3)Layers - Merge - Merge All Flatten.
Home
©PSPPEG 2011
All Rights Reserved