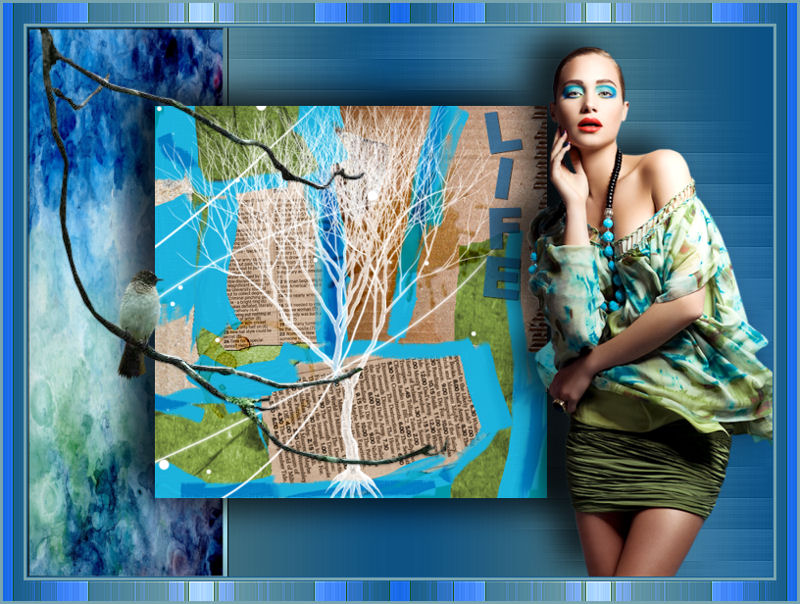
Life
Filters Required:
Filters Unlimited 2,0 - Photo Aging Kit
Andrews Filters 10 - Tapestry (Provided)
Andrews Filters 21 - Chalk or Chalk (Provided)
Graphics Plus - Cross Shadow
If you need a filter..select the linked image below and scroll down the page.

------------------------
Tubes Required:
Main Tube by Mary
Other Tube by Guismo
These tubers have provided psppeg with permission to use the tubes provided in this tutorial.
To view more Fantastic Tubes by these Tuber click image below.
Many Thanks!
------------------------
Materials
------------------------
|
Preparation:
Look thru the list of filters and make certain you have them.
Open all tubes in your psp program and minimize.
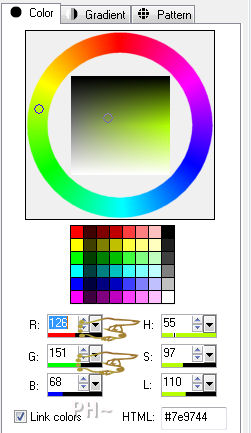
Open the colour palette and place in the top right corner of your psp program.
If not using the colors provided you will need 5 colors similar to the ones chosen.
Below is the colour palette chosen for this tutorial which is included in the zip.

Lets Begin:
A)Creating Your Collage
1)File, New Image, 500w x 500h, transparent.
2)Flood Fill with #1 color in your colour palette
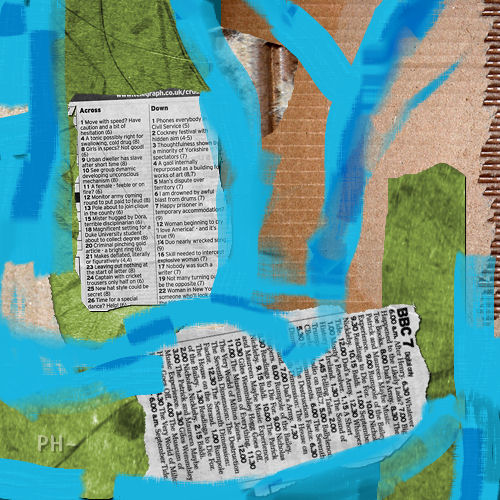
3)Maximize life_papers.psp - Edit - Copy Layer: papers 1 - Edit - Paste - As a New Layer
4)Effects - Image Effects - Offset - H: minus 35, V: 40, transparent
5)Effects - 3D Effects - Drop Shadow - V+H:1, Opacity:100, Blur:1.00, Black
6)Maximize life_papers.psp - Layer Palette - Select Layer: papers 2
7)Dropper Tool - Colour Palette - Select Colour #2 - Material Palette - Left Click Foreground Colour
Material Properties Opens - Make Note of the Numbers under H:55 and S:97
8)Adjust - Hue and Saturation - Colorize - enter values
Edit - Copy - Edit - Paste - As a New Layer
9)Effects - Image Effects - Offset - H: minus 70, V: minus 50, transparent
10)Effects - 3D Effects - Drop Shadow - Same Settings
11)Maximize life_papers.psp - Edit - Copy Layer: papers 3 - Edit - Paste - As a New Layer
12)Effects - Image Effects - Offset - H: 0, V: minus 50, transparent
13)Effects - Photo Effects - Sepia Toning - Amount to Age: 66
13)Layers - Merge - Merge Visable
14)Eye Dropper Tool - - Colour Palette - Left Click #3
15)Oil Brush Tool

16)Apply paint over your image - Change brush to Marker and apply more -
Try and use different brushes, eraser, palette knife, smear - play
Try and cover the background colour and many edges of paper and even over some of the papers
When satisfied - Layers - Convert to Raster
Layers - Merge - Merge Visable
17)Effects - Plugins - Filters Unlimited 2.0 - Photo Aging Kit - Coffee Blot

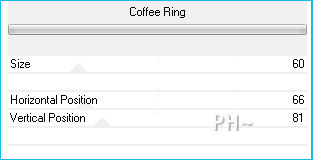
18)Effects - Plugins - Filters Unlimited 2.0 - Photo Aging Kit - Coffee Ring
19)Layers - New Raster Layer
20)Materials Palette - Change Foreground to White
21)Brush Tool - Select a brush that speaks of your theme - Our theme is life so I selected a tree and one that looks like branches
22)Place brush wherever desired
23)Layers - Merge - Merge All Flatten
25)Material Palette - Change Background to #5 on the palette by right clicking colour palette - Null Foreground
26)Text Tool - Text Arial Black

27)Type The Letter L only - Turn each letter off center by turning the handle
Layers - Convert to Raster
28)Continue with letters I F and E
29)Layers - Merge - Merge Down - Repeat twice
30)Effects - 3D Effects - Drop Shadow - Same Settings
30)Layer Palette - Opacity: 77
Layers - Merge - Merge All - Minimize
B)Background
1)File, New Image, 760w x 560h, transparent.
2)Eye Dropper Tool - Colour Palette - Left Click Colour #4, Right Click Colour #5
3)Material Palette - Change Foreground to Gradient - Style Linear
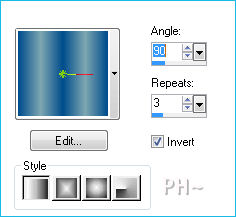
4)Flood Fill with Gradient
5)Adjust - Blur - Gaussian Blur - Radius: 27
6)Layers - Duplicate
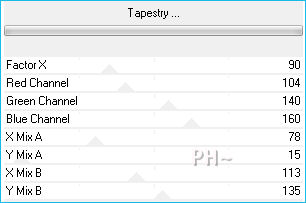
7)Effects - Plugins - Filters Unlimited 2.0 - Andrews 10 - Tapestry
8)Effects - Edge Effects - Enhance
9)Layer Palette - Blend Mode: Luminance Legacy
C)Background Elements
1)Layers - New Raster Layer
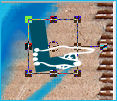
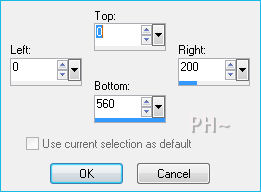
2)Selection Tool - Custom Selection
3)Maximize texture040.jpg - Edit - Copy - Close Image - Paste - Into Selection
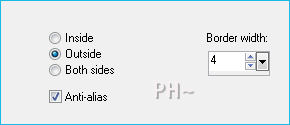
4)Selections - Modify - Select Selections Borders
5)Layers - New Raster Layer
6)Flood Fill with Foreground Colour
Selections - Select None
7)Effects - Plugins - Graphics Plus - Cross Shadow - Default Settings
8)Effects - 3D Effects - Drop Shadow - Same Settings
9)Layers - Merge - Merge Visable
D)Putting it Together
1)Maximize Your Collage Image - Edit - Copy - Close image - Edit - Paste As a New Layer.
2)Image - Resize - 80%, all layers unchecked.
3)Effects - 3D Effects - Drop Shadow - V: minus 12, H: minus 27, Opacity: 73, Blur: 44, Black
4)Repeat Drop Shadow except change V + H: to positive
5)Effects - Image Effects - Offset - H: minus 50, V: 0, transparent
E)Main Tube
1)Maximize Mary_190212-5.psp - Edit - Copy - Close image - Edit - Paste As a New Layer.
2)Image - Resize - 70%, all layers unchecked
3)Mover Tool - Position to the Right of your collage - touching bottom
4)Effects - 3D Effects - Drop Shadow - V: minus 12, H: minus 27, Opacity: 73, Blur: 44, Black
F)Accent Tube
1)Maximize calguisbirdtree22022012.psp - Edit - Copy - Close image - Edit - Paste As a New Layer.
2)Image - Mirror
3)Mover Tool - Move the top of branch to the top left corner
4)Adjust - Brightness and Contrast - Brightness/Contrast - Brightness: 23, Contrast: 13
3)Adjust - Brightness and Contrast - Clarify - Strength: 16.0
J)Framing
1)Layers - Merge - Merge All
2)Image - Add Borders - 1 pixels symmetric border - with background color #004c8c
3)Image - Add Borders - 3 pixels symmetric border - with foreground color #7ea7b1
4)Image - Add Borders - 1 pixels symmetric border - with background color #004c8c
5)Image - Add Borders - 20 pixels symmetric border - with white
6)Magic Wand - Feather and Tolerance 0, Select White Border
7)Flood Fill with gradient
8)Effects - Plugins - Andrews Filters 21 - Chalk or Chalk - Default Settings
9)Effects - Edge Effects - Enhance
10)Selections - Select None
11)Image - Add Borders - 3 pixels symmetric border - with foreground color #7ea7b1
12)Layers - Merge - Merge All.
K)Finalizing
1)Add your watermark
2)Add text
3)Layers - Merge - Merge All Flatten.
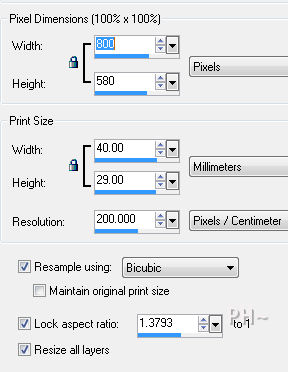
4)Image - Resize 800 pixels.
Your done.
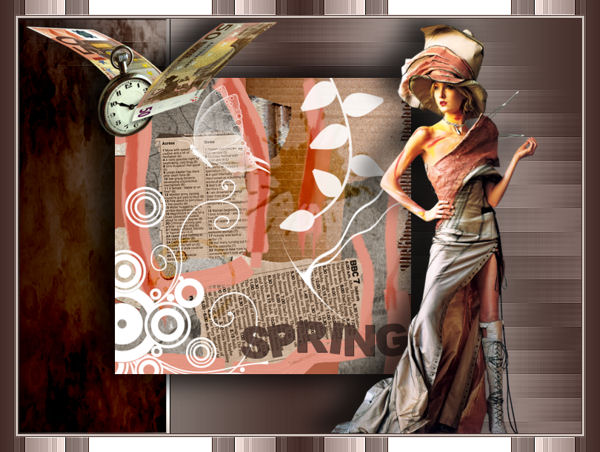
Another Example
Home
©PSPPEG 2011
All Rights Reserved